Struggling with stiff shoulders from long hours at your desk? Or maybe you're just looking for a gentle way to improve your flexibility and ease tension? This article guides you through a series of simple yet effective yoga flows you can practice right in your living room. We'll focus on poses designed to enhance shoulder mobility, reduce stiffness, and leave you feeling refreshed and energised. Whether you're a complete beginner or have some yoga experience, this is your starting point for a more flexible and pain-free upper body. Let's get started!
The Benefits of Yoga for Shoulder Mobility at Home
Yoga, with its mindful movements and focus on breath, is an effective way to combat shoulder stiffness and improve overall mobility. Practicing yoga at home offers advantages: it’s convenient, cost-effective, and allows you to create a practice tailored to your needs and schedule. Squeezing in a workout can be tough, but with home yoga, you have complete control over your environment and the duration of your practice. No commute, no class fees, just you and your mat. This accessibility is a plus for those with busy lives or limited mobility. Yoga offers a range of benefits for shoulder health:
- Increased Flexibility: Regular practice stretches the muscles surrounding the shoulder joint, increasing your range of motion.
- Reduced Pain and Stiffness: Yoga poses gently release tension, easing discomfort caused by prolonged sitting or repetitive movements.
- Improved Posture: Many poses focus on opening the chest and strengthening back muscles, which can counteract the effects of slouching.
- Stress Reduction: Yoga incorporates deep breathing and mindfulness, helping to reduce stress and promote relaxation, which eases muscle tension.
The best part about home yoga is the ability to listen to your body and modify poses as needed. There’s no pressure to keep up with a class or push yourself beyond your limits. You set the pace, resulting in a stronger, more flexible, and less stressed you.
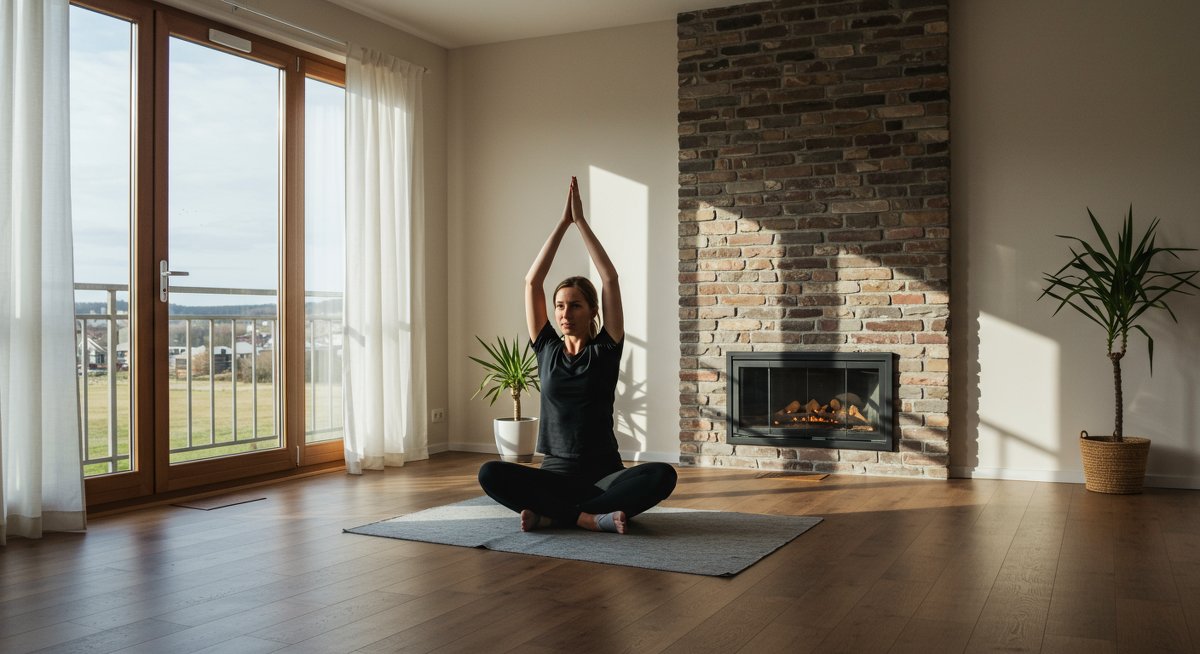
Let’s look at how to set up a small yoga space in your home. Find a quiet area where you can lay down your yoga mat. Make sure you have enough room to extend your arms and legs. Set the mood with some soft lighting or a candle and turn off any distractions. Creating this space signals to your body that it’s time to unwind and stretch.
Many of us spend hours hunched over computers, which can lead to tight chest muscles and rounded shoulders. Yoga helps to lengthen and stretch the muscles, making them more flexible and less prone to injury. For the best results, perform your flows at least 3 times per week. Over time, you will feel a difference in your shoulders and upper back.
Essential Poses/Stretches for Your Practice
Now, let's dive into some essential poses perfect for enhancing shoulder mobility at home. Remember to listen to your body, never force a pose, and always breathe deeply.
- Cat-Cow Stretch: Start on your hands and knees. Inhale, drop your belly towards the floor, arch your back, and lift your head (Cow Pose). Exhale, round your spine towards the ceiling, tuck your chin to your chest (Cat Pose). Repeat this flow 5-10 times. This gentle movement warms up the spine and shoulders.
- Expert Tip: Focus on the breath, coordinating each inhale and exhale with the movement of your spine for maximum benefits.
- Thread the Needle: Start in a tabletop position. Inhale, reach your right arm up towards the ceiling. Exhale, thread your right arm under your left arm, bringing your right shoulder and head to the floor. Keep your left hand on the floor or reach it overhead for a deeper stretch. Hold for 30-60 seconds, then repeat on the other side. This pose deeply stretches the shoulders, chest, and upper back.
- Common Mistake: Forcing the twist. Instead, let gravity do the work and relax into the pose. Breathe fully.
- Eagle Arms (Garudasana Arms): Cross your right arm over your left arm, bending at the elbows, and bringing the backs of your hands or palms to touch (if possible). Lift your elbows and stretch the upper back. Hold for 30-60 seconds, then repeat with the left arm on top. This pose stretches the upper back and shoulders.
- Beginner Modification: If you can't bring your palms together, just hold onto opposite shoulders.
- Cow Face Arms (Gomukhasana Arms): Reach your right arm up towards the ceiling, bend at the elbow, and bring your hand down towards your upper back. Reach your left arm behind your back, bending at the elbow, and try to clasp your hands together (if possible). Hold for 30-60 seconds, then repeat on the other side. This pose stretches the shoulders, chest, and triceps.
- Expert Tip: If you can't clasp your hands, use a yoga strap or towel to bridge the gap.
- Downward-Facing Dog (Adho Mukha Svanasana): From a tabletop position, tuck your toes and lift your hips up and back, forming an inverted V-shape. Keep your hands shoulder-width apart, and your feet hip-width apart. Let your head hang heavy. Hold for 5-10 breaths. This pose stretches the entire body, including the shoulders.
- Beginner Modification: If your hamstrings are tight, bend your knees. If you're unable to reach your heels to the ground, it's okay, bend your knees and let your heels raise.
By incorporating these poses into your routine, you’re actively working towards more flexible and mobile shoulders. Don't forget to focus on deep, intentional breathing throughout each pose. It's about connecting with your body and enjoying the process.
Step-by-Step Flow/Routine
Let’s create a simple, 10-minute yoga flow incorporating the poses we've discussed. This flow is designed for beginners and can be easily adapted to your fitness level.
- Warm-up (2 minutes): Start with Cat-Cow stretches (1 minute), followed by gentle shoulder rolls (forward and backward, 30 seconds each). This will help prepare your muscles for more intense stretches.
- Main Flow (6 minutes):
- Thread the Needle: Hold each side for 30 seconds.
- Eagle Arms: Hold each side for 30 seconds.
- Cow Face Arms: Hold each side for 30 seconds.
- Downward-Facing Dog: Hold for 5 breaths.
- Repeat the entire sequence one more time.
- Cool-down (2 minutes): Finish with Child's Pose (30-60 seconds), followed by seated side bends and deep breathing exercises (1 minute). This allows your body to relax and recover.
- Expert Tip: Focus on slow, controlled movements, avoiding rushing through the poses. You should feel a gentle stretch, not pain. Take your time and breathe.
- Common Mistakes: Holding your breath, forcing the poses, and neglecting the cool-down. A good cool-down is just as important as your warm-up.
This flow is a starting point, feel free to adjust the duration or incorporate additional poses as you become more comfortable. The goal is consistency, so aim to practice this flow at least three times per week. This practice takes very little time and does not require equipment. You may be surprised at how much a simple, 10-minute session can do.
You can modify the flow depending on your needs. If you’re a desk worker, consider spending extra time in poses that stretch the chest and upper back, such as Eagle Arms. If you have limited mobility, modify the Downward-Facing Dog by bending your knees. Listen to your body, and you’ll find what works best for you.
Tips for Creating Your Home Yoga Space
Creating a dedicated space for your yoga practice can enhance your experience. It’s about setting up a comfortable and inviting environment where you can focus on your practice. Here are a few tips:
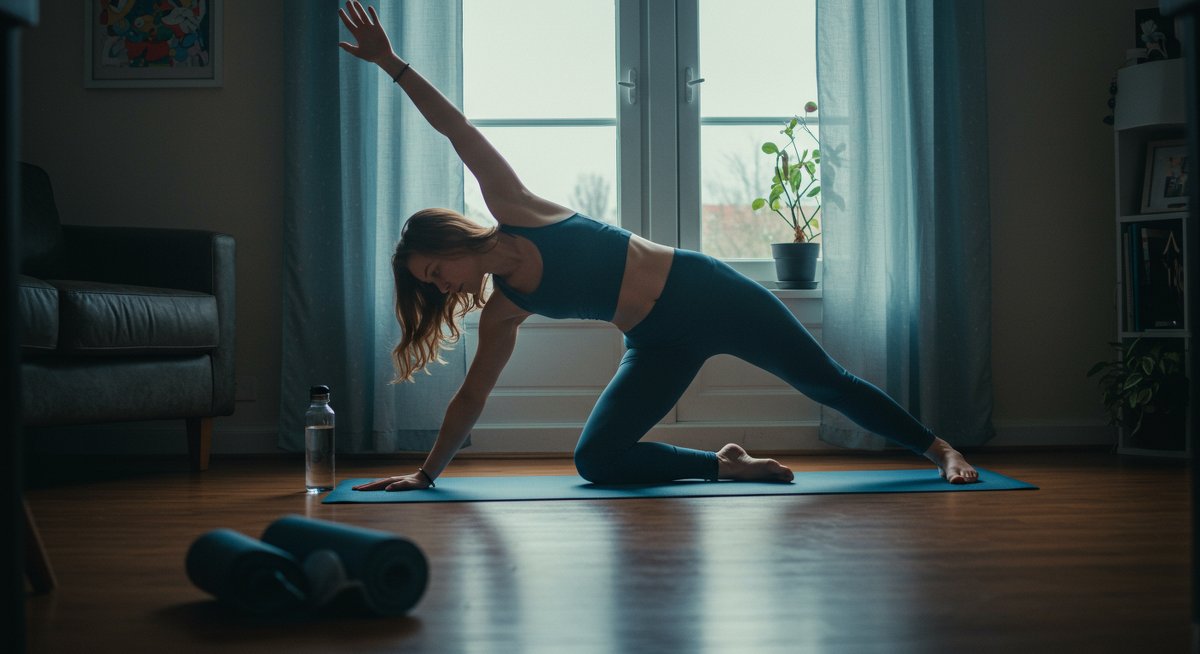
- Choose the Right Location: Select a quiet area in your home with enough space to move freely. This could be a spare room, a corner of your living room, or even your bedroom. Make sure the floor is relatively flat and stable. Consider the natural lighting. Does the room get a lot of sunlight, which will boost your mood? Or does it have gentle lighting, which can help you relax?
- Gather Essential Equipment: You don't need much to get started. A yoga mat is the most important piece of equipment. A yoga block can be useful for modifying poses and providing support. Some people like using a yoga strap for assistance in reaching and stretching. You can also include a blanket for warmth during relaxation and a meditation cushion or a chair for meditation. These items create a comfortable and supportive environment for your practice.
- Expert Tip: If you’re a beginner, don’t feel pressured to buy everything at once. Start with a mat and add other items as you need them.
- Common Mistake: Overcomplicating the setup. Keep it simple and functional.
- Create the Right Ambiance: Make your space feel calm and inviting. You can use soft lighting, candles, or essential oils for relaxation. A small speaker can play relaxing music. Keep the space clean and clutter-free. A few plants can also add a touch of nature. The goal is to create an environment where you feel safe and relaxed. This helps you disconnect from your daily stressors and reconnect with your body and mind.
- Use Technology Wisely: There is a range of apps to help you practice. The Down Dog app provides personalised yoga classes for all levels. It can also cater to your specific needs, such as focusing on shoulder opening. A timer app can help you maintain the poses and manage the duration of your sessions. You can also search for guided meditations on YouTube or Spotify. Integrating these technologies can enhance your practice, allowing you to easily follow along with a class or find a specific yoga flow.
Creating a great space in your home is easy! Take these simple steps and you will begin to create the best environment for your practice.
Connecting Mind and Body
Yoga is more than just physical postures; it's a practice that connects your mind and body. By incorporating mindfulness into your yoga practice, you can deepen the benefits and enhance your overall well-being.
- Focus on Your Breath: Conscious breathing, or pranayama, is a cornerstone of yoga. Pay attention to your inhales and exhales throughout each pose. This helps calm your nervous system, reduce stress, and increase your awareness of the present moment. Try the Ujjayi breath, or ocean breath, to promote relaxation.
- Cultivate Self-Awareness: As you move through the poses, pay attention to how your body feels. Notice any tension or discomfort and adjust the pose accordingly. This self-awareness allows you to build a deeper connection with your body.
- Practice Mindfulness: Bring your attention to the present moment. Let go of thoughts about the past or future. As your mind wanders, gently bring it back to your breath and your body. This helps you to develop a sense of peace and calm.
- Integrate Meditation: Start your practice with a few minutes of meditation to center yourself. Focus on your breath, a mantra, or a guided meditation. This sets the tone for a mindful practice.
By combining these elements, you can find a balance between the physical and mental, leading to improved flexibility and mobility, and a deeper connection to yourself.
Advanced Poses/Stretches
Once you feel comfortable with the beginner poses, you can explore more advanced stretches to further enhance your shoulder mobility. Here are some options:
- Gomukhasana (Cow Face Pose): Deepens the stretch in the shoulders and chest, while also improving posture.
- Expert Tip: When your hands don't meet, use a strap or towel to bridge the gap.
- Revolved Triangle Pose (Parivrtta Trikonasana): Adds a twist to the triangle pose, opening up the chest and shoulders. The twist can increase the range of motion in the shoulder, which helps to relieve tension.
- Supported Fish Pose (Matsyasana): This is good for counteracting slouching and opening the chest. For this pose, you will need a yoga block or pillow. Lie down on the ground, and position the block in the center of your back. Make sure your shoulders are relaxed and lying on the ground.
- Expert Tip: Be sure to ease into these poses slowly. Don’t force your body into position, instead, move in a way that your body allows.
Remember that it's important to approach these more advanced poses with caution and to listen to your body. If you’re unsure, consider seeking guidance from a qualified yoga instructor.
Deepening Your Home Practice
Here are a few ways you can deepen your home yoga practice and make it a regular part of your routine:
- Create a Schedule: Treat your yoga practice like any other important appointment. Schedule specific times for your sessions and stick to them. Whether it's a quick 10-minute flow in the morning or a longer session in the evening, consistency is key. Be sure to choose a time that works for your lifestyle and stick to it.
- Set Goals: Have specific goals for your practice, such as improving your flexibility, reducing pain, or simply feeling more relaxed. Having goals helps you stay motivated and track your progress. What do you hope to gain from your yoga practice?
- Find Inspiration: Explore different yoga styles, follow online instructors, or join a virtual community to find inspiration and keep your practice fresh. Try to incorporate new content into your practice every week or so. Do you enjoy practicing with a specific instructor or in a specific place? Create a playlist to support your flow.
- Listen to Your Body: Allow yourself to rest and take breaks as needed. Modify poses to suit your level and be kind to yourself. Your practice is not about achieving perfection, it is about connecting with your body and mind. The best yoga is the yoga that you do.
By incorporating these tips into your routine, you can transform your home yoga practice from a casual activity into a fulfilling journey towards better health and well-being. If you’re on this journey too, I’d love to hear how it goes for you.