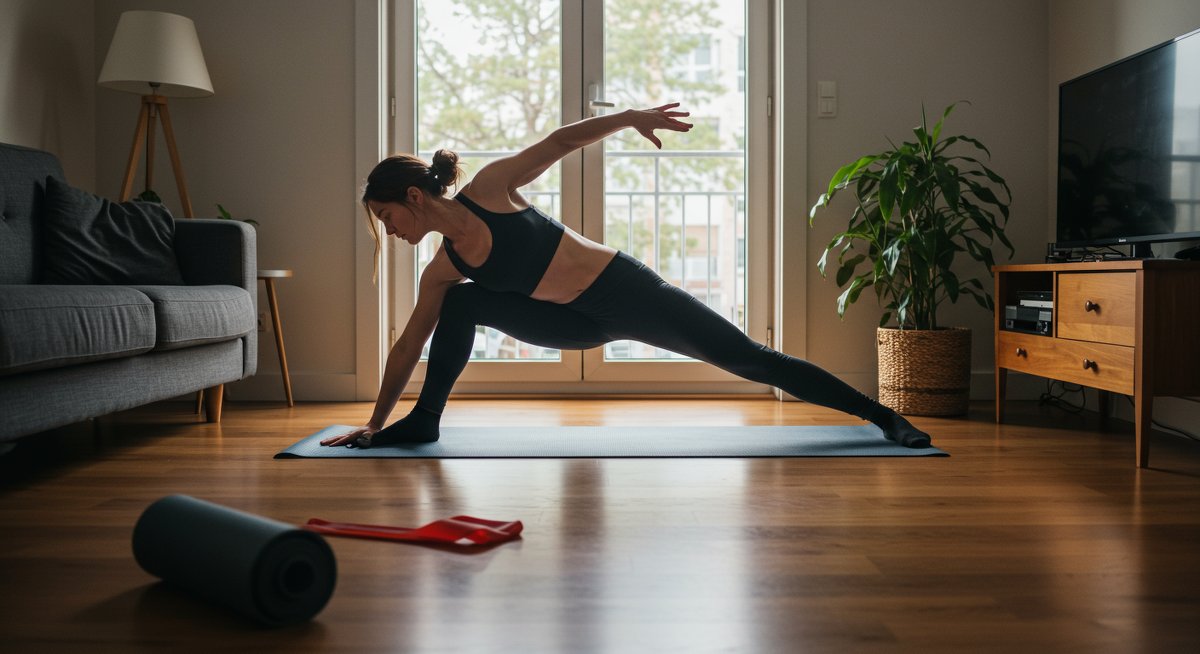
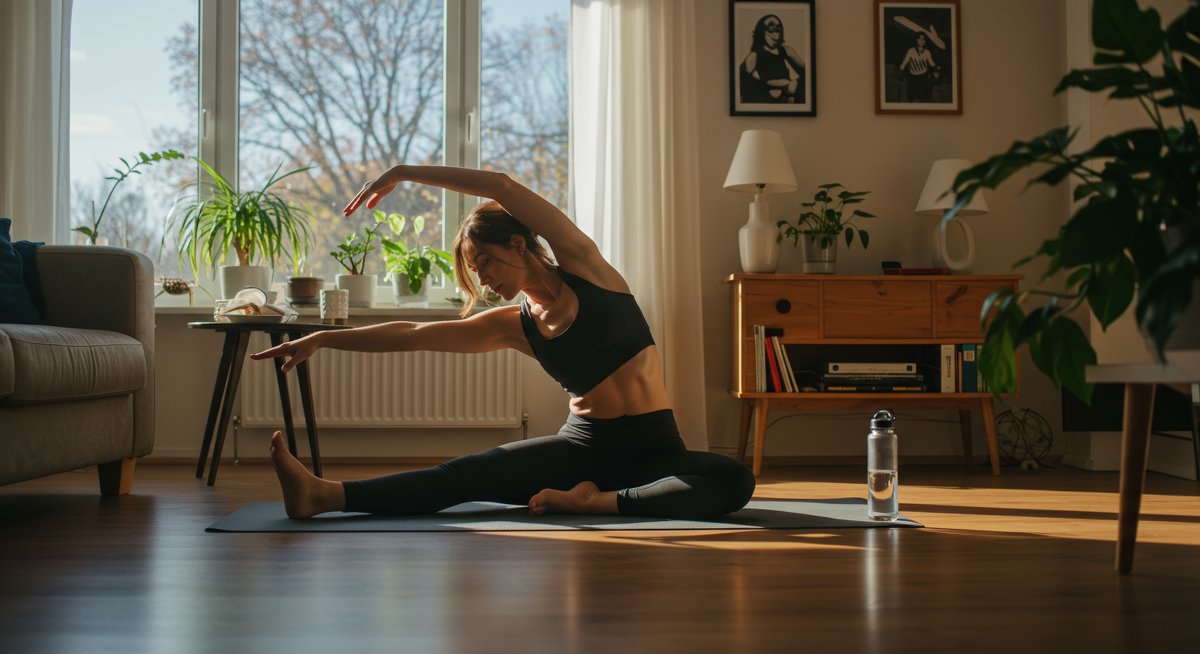
Are you feeling the pinch of tight hips? Whether it's from sitting at a desk all day, intense workouts, or simply the natural process of aging, limited hip mobility can hold you back. It can cause discomfort, limit your range of motion, and even increase your risk of injury. But the good news? You don’t need fancy equipment or hours in the gym to find relief. In fact, you can significantly improve your hip mobility right in the comfort of your own home with just a few simple stretches. Let's dive in!

Why this workout is perfect for home beginners
This routine is designed with you in mind: the home fitness enthusiast who wants real results without the hassle. We're focusing on beginner-friendly stretches that are effective, accessible, and require no equipment. These stretches are perfect if you're just starting, have limited space, or want to add a quick routine to your existing fitness regimen. It's all about simplicity and consistency. A regular stretching practice at home can bring several benefits, including reduced hip pain, increased flexibility, improved athletic performance, and a better overall sense of well-being. It is also a fantastic way to warm up your muscles before a workout or cool down afterward, decreasing the risk of injuries and speeding up recovery. Let’s be honest, who doesn’t want all that?
Essential moves you'll need
Here are five key stretches to get you started on the path to more flexible and mobile hips. Each stretch is explained with simple, step-by-step instructions, making it easy to follow along at home. Remember to listen to your body and never push yourself beyond a comfortable range of motion. If you feel any sharp pain, stop immediately.
1. Butterfly Stretch
This classic stretch targets the inner thighs and hips.
Step-by-Step Instructions:
- Sit on the floor with the soles of your feet together, letting your knees fall open to the sides. Your feet should be close to your groin.
- Hold onto your feet with your hands.
- Gently press your elbows into your inner thighs to deepen the stretch (optional).
- Keep your back straight and chest lifted.
- Hold this position for 30 seconds, feeling a gentle stretch in your hips and inner thighs.
Example 1: If you find that your knees are far from the floor, that's perfectly normal! As you practice this stretch more frequently, you'll likely notice your knees gradually moving closer to the ground.
Example 2: For a deeper stretch, gently lean forward from your hips, keeping your back straight, to feel a stretch in your groin. If you experience any knee pain, gently modify by placing a pillow under each knee for support.
2. Child's pose with wide knees
This is a gentle, restorative pose that provides a great hip stretch.
Step-by-Step Instructions:
- Start on your hands and knees.
- Bring your big toes together and spread your knees wide, wider than your hips.
- Sit your hips back towards your heels.
- Walk your hands forward, resting your forehead on the floor.
- Allow your hips to sink towards your heels.
- Breathe deeply and hold the pose for 30-60 seconds.
Example 1: Feel the stretch extending along your inner thighs and lower back. This stretch is particularly useful for individuals with lower back stiffness, often caused by prolonged sitting.
Example 2: If you're uncomfortable sitting your hips down to your heels, or if your hips don’t reach your heels, that's okay! Place a pillow or blanket under your hips for support. Focus on the stretch, not perfection.
3. Seated figure four stretch
This stretch is ideal for targeting the piriformis muscle, which can contribute to hip tightness.
Step-by-Step Instructions:
- Sit on the floor with your legs extended in front of you.
- Bend your right knee and place your right ankle on your left thigh, just above your left knee.
- Keep your right foot flexed to protect your knee.
- Gently lean forward from your hips, keeping your back straight, until you feel a stretch in your right hip.
- Hold for 30 seconds and repeat on the other side.
Example 1: The intensity of the stretch can be adjusted by how far you lean forward. If you don't feel much, try leaning farther. If it feels too intense, sit more upright.
Example 2: For a deeper stretch, gently pull your left thigh closer to your chest while keeping your back straight. This will increase the stretch in the hip.
4. Hip flexor stretch (kneeling)
This is great for countering the effects of prolonged sitting.
Step-by-Step Instructions:
- Kneel on your right knee.
- Place your left foot flat on the floor, with your left knee bent at a 90-degree angle.
- Gently tuck your tailbone under to engage your core and feel a stretch in the front of your right hip.
- You can place your hands on your left thigh for support.
- Hold for 30 seconds and repeat on the other side.
Example 1: To deepen the stretch, gently raise your left arm overhead while keeping your torso upright. This adds a slight side bend to the stretch.
Example 2: If you have knee problems, place a folded towel or blanket under your right knee for extra padding and support. The most important thing is to maintain comfort.
5. Glute bridge
This stretch improves glute strength and hip extension.
Step-by-Step Instructions:
- Lie on your back with your knees bent and feet flat on the floor, hip-width apart.
- Keep your arms at your sides, palms facing down.
- Squeeze your glutes and lift your hips off the floor until your body forms a straight line from your knees to your shoulders.
- Hold for a few seconds, then slowly lower back down.
- Repeat 10-15 times.
Example 1: This stretch is great for strengthening your glutes, which is essential for hip stability and mobility.
Example 2: For a more challenging variation, place a small pillow or a yoga block between your knees, squeezing it as you lift your hips to engage more of your inner thigh muscles.
Tips for success
Stretching is a skill that develops over time. Here are some tips to make the most of your hip mobility routine:
Consistency is key: Aim to stretch at least 3-4 times a week for best results. Even a few minutes each day can make a big difference.
Listen to your body: Never push yourself beyond your comfort zone. Pain is a signal to stop or modify the stretch.
Breathe deeply: Focus on your breath throughout each stretch. Deep, controlled breathing can help you relax and deepen the stretch.
Warm-up first: For optimal results, gently warm up your muscles before stretching. A light cardio activity like marching in place or a few jumping jacks for a few minutes will help.
Stay hydrated: Drinking water helps the muscles stay flexible.
Common mistakes to avoid: Avoid bouncing while stretching, as this can lead to injury. Instead, hold each stretch steadily for a period of time.
Benefits and how it helps your goals
Why bother with all this stretching? The benefits are well worth the effort!
Reduced pain: Stretching can help to alleviate hip pain caused by tightness and muscle imbalances.
Example: Many people experience lower back pain related to hip tightness. By improving hip mobility, you can relieve the pressure on your lower back.
Improved flexibility: Regular stretching increases your range of motion, allowing you to move more freely.
Example: This is particularly important if you play sports or engage in physical activities where flexibility is essential, such as dancing or martial arts.
Enhanced athletic performance: More flexible hips can improve your running form, power, and overall performance.
Example: Improved hip mobility allows for a greater stride length during running, making each step more efficient and powerful.
Injury prevention: Stretching helps to prevent injuries by improving the flexibility of your muscles and joints.
Example: Stretching before a workout warms up the muscles, helping them perform better and reducing the risk of pulls and strains. Post-workout stretching accelerates recovery.
Better posture: Stretching can improve your posture by releasing tension in the muscles that contribute to poor posture.
Example: If you sit at a desk all day, stretching your hip flexors and strengthening your glutes will help to counteract the effects of prolonged sitting.

How to fit it into your busy schedule
Finding time can be tough, but here are some practical ways to weave these stretches into your everyday life:
Morning routine: Do a quick set of stretches first thing in the morning to wake up your body.
Example: Before your morning walk, add the butterfly stretch, child’s pose, and hip flexor stretch.
Work break: Take a 5-minute break every hour to stretch. This is especially important if you have a desk job.
Example: During your lunch break, perform the seated figure four and a few glute bridges.
Before or after workouts: Warm up before exercising or cool down afterward.
Example: Before a workout, focus on dynamic stretches like hip circles; afterward, hold each stretch for a longer duration to assist recovery.
Evening wind-down: Incorporate a few stretches into your evening routine to relax your muscles and prepare for a good night’s sleep.
Example: The child’s pose is a perfect way to relax before bed.
Quick warm-up and cool-down
Quick warm-up (5 minutes)
Dynamic stretches – high knees, leg swings, arm circles and torso twists
Example: Combine these dynamic stretches, gradually increasing the range of motion to get the blood flowing and preparing your muscles.
Light cardio – jumping jacks, jogging in place, or marching in place
Example: A few minutes of light cardio is all it takes to get your heart rate up and your muscles ready to stretch.
Quick cool-down (5 minutes)
Static stretches – hold each stretch for 30 seconds. Focus on the stretches mentioned above.
Example: Do all the stretches outlined in this article.
Deep breathing – breathe deeply and relax into the stretches.
Example: Focus on slow, deep breaths to relax and lengthen the muscles.
Next steps in your home fitness journey
Congratulations on taking the first step towards better hip mobility! Now what? To make this a sustainable part of your routine, here are a few ideas:
- Create a schedule: Consistency is key. Schedule your stretches in your calendar as you would any other important appointment. This will help you stay on track.
- Track your progress: Use a fitness app or simply a notebook to track how you feel. Note any improvements in your flexibility, pain levels, and overall well-being. It's motivating to see how far you've come.
- Vary your routine: Once you become familiar with these stretches, feel free to try new ones or adjust the holds to increase the intensity. Online resources offer a wealth of options.
- Combine with other workouts: Incorporate these stretches into your existing fitness routine. They're a great addition to yoga, Pilates, strength training, or any other activity.
- Consult a professional: If you have persistent hip pain or any specific concerns, it’s always a good idea to consult with a physical therapist or other healthcare professional. They can provide personalized guidance.
Improving your hip mobility is an investment in your overall health and well-being. By following these simple stretches and making them a part of your daily routine, you can reduce pain, improve flexibility, and move with greater ease and comfort. If you’re on this journey too, I’d love to hear how it goes for you. What are your biggest challenges and successes? Share your experiences in the comments below. Here’s to healthier, happier hips!