Are you feeling the effects of a tough workout or spending too much time at a desk? Foam rolling is a simple yet effective way to relieve muscle soreness, improve flexibility, and boost your recovery. This guide will walk you through five easy foam rolling techniques you can do at home, perfect for beginners and desk workers alike.

Why Foam Rolling is Perfect for Home Beginners
Foam rolling, also known as self-myofascial release, is like a deep-tissue massage you can give yourself. It helps to break up knots (muscle adhesions), increase blood flow, and reduce inflammation. This makes it ideal for anyone looking to ease muscle tension, improve range of motion, and speed up recovery time. The best part? You can do it in the comfort of your own home, anytime you need it.
Essential Moves You'll Need
Before you start, you'll need a foam roller. There are many sizes and densities available; for beginners, a medium-density roller is often best. You can find them online or at most sporting goods stores. A yoga mat can also be helpful to provide a more comfortable surface.
Step-by-Step Instructions
Here are five easy foam rolling techniques to get you started:
- Calves: Sit on the floor with your legs extended. Place the foam roller under your calves. Lift your hips off the ground, supporting yourself with your hands. Slowly roll from your ankles to just below your knees. Spend extra time on any tender spots.
- Hamstrings: Similar to the calves, sit with the foam roller under your hamstrings. Keep your back straight and roll from your knees to your glutes. You can also turn your toes inward or outward to target different parts of the hamstrings.
- Quadriceps (Thighs): Lie face down with the foam roller under your thighs. Roll from your hip flexors to your knees. Keep your core engaged to protect your lower back.
- IT Band: Lie on your side with the foam roller under your outer thigh (IT band). Roll from your hip to your knee. This can be a sensitive area, so start gently.
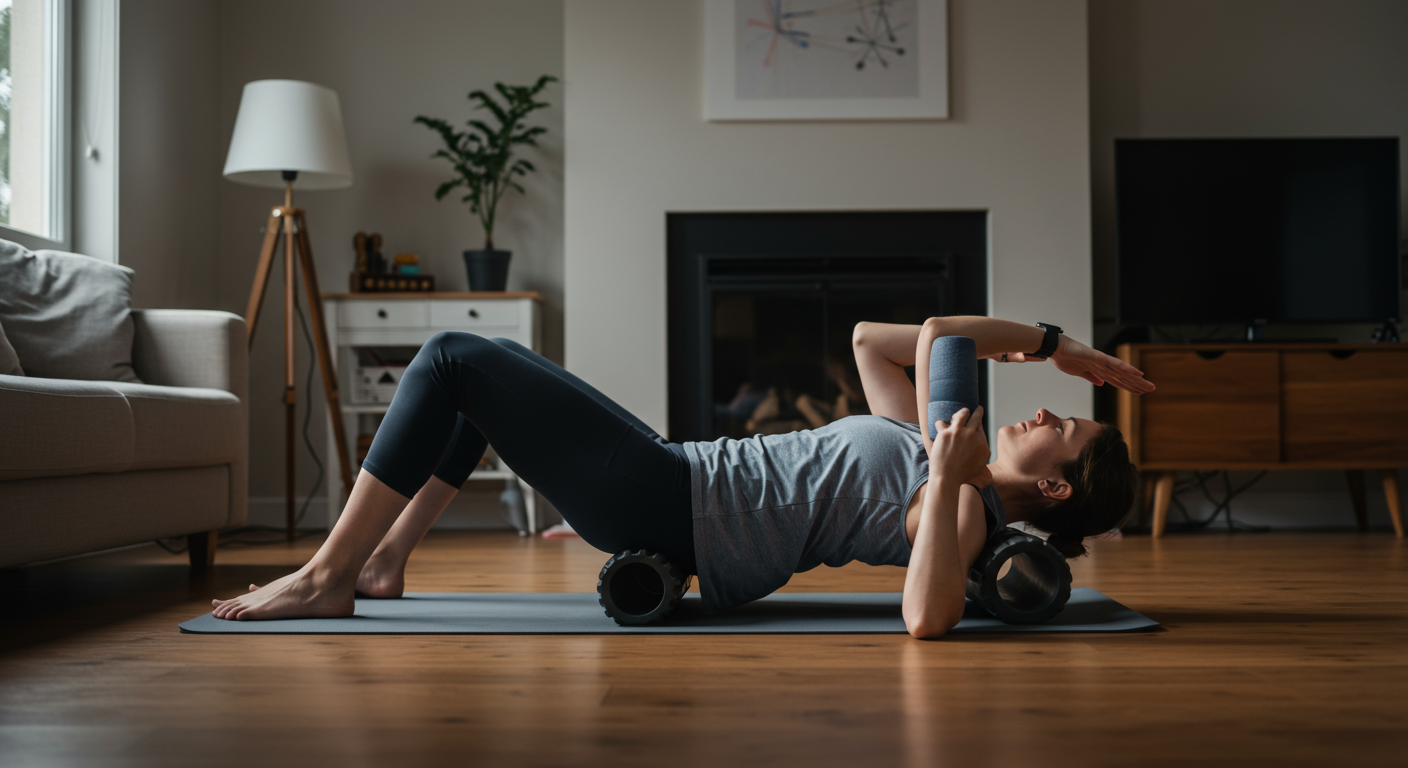
- Upper Back: Place the foam roller under your upper back, supporting your head with your hands. Bend your knees and keep your feet flat on the floor. Roll slowly, focusing on the area between your shoulder blades. Avoid rolling your lower back.
Tips for Success
- Start slow: Begin with gentle pressure and gradually increase it as you become more comfortable.
- Breathe deeply: Focus on your breath to help you relax and release tension.
- Listen to your body: If you feel sharp pain, stop and adjust your position.
- Hold on tender spots: When you find a knot or tight area, pause and hold for 20-30 seconds to allow the muscle to release.
- Be consistent: Aim to foam roll 2-3 times per week to see the best results.
Benefits and How It Helps Your Goals
Foam rolling offers a range of benefits, including reduced muscle soreness, improved flexibility, increased blood flow, and decreased risk of injury. For desk workers, foam rolling can help counteract the effects of prolonged sitting, improving posture and reducing back pain. For those who workout, it can help with overall recovery.
How to Fit It Into Your Busy Schedule
Foam rolling doesn't require a lot of time. Even a 10-minute session can make a difference. You can foam roll before or after a workout, during your lunch break, or before bed. Make it a part of your daily routine to maximize the benefits.
Quick Warm-up and Cool-down
Before foam rolling, perform some light cardio, like jogging in place or arm circles. This will increase blood flow to your muscles. After foam rolling, stretch the muscles you just worked to further improve flexibility.
Next Steps in Your Home Fitness Journey
Foam rolling is a great starting point for your home fitness journey. You can also incorporate other recovery techniques, such as stretching and massage, and combine these with regular exercise.