Stiff hips got you down? Sitting at a desk all day can lead to tight hip flexors and limited mobility, impacting your workouts and overall well-being. But there's good news! This article guides you through 5 effective yoga poses you can easily do at home, designed specifically to increase hip mobility and flexibility. Whether you're a desk worker or just looking to enhance your fitness routine, these poses are your key to unlocking greater ease of movement and reducing hip pain. This 20-minute routine is perfect for improving mobility, enhancing your overall fitness, and preventing injuries.
The Benefits of Yoga for Hip Mobility at Home
Practicing yoga at home offers a wealth of benefits, especially when focusing on hip mobility. Regular practice can significantly reduce hip stiffness, alleviate pain, and improve your range of motion. By incorporating these poses into your daily routine, you'll not only feel more flexible but also enhance your posture, reduce the risk of injuries, and improve your athletic performance. The best part? You can do it all in the comfort of your own space, anytime.
- Improved Flexibility: Regular practice increases the flexibility of your hip flexors, hamstrings, and surrounding muscles.
- Pain Relief: Helps to alleviate hip pain caused by prolonged sitting or physical activity.
- Enhanced Posture: Strengthens the muscles that support your spine and pelvis, improving posture.
For example, consider Sarah, a software developer who spends hours at her desk. She started experiencing hip stiffness and lower back pain. By consistently performing these yoga poses for just 15-20 minutes each day, Sarah noticed a significant reduction in her pain and an improvement in her posture within a few weeks. She found it easy to incorporate the routine into her before-work or after-work schedule, improving her well-being.
Another example is John, a traveling salesperson. Due to constantly being in his car and frequent travel, John's hips were consistently tight, and he often felt restricted and experienced pain during activities. Incorporating a quick yoga session into his hotel room routine each night made a huge difference, keeping him mobile and comfortable during his travels.
Essential Poses for Hip Flexibility and Mobility
Here are 5 essential yoga poses to boost your hip mobility, designed to be accessible for intermediate levels:
1. Reclined Hand-to-Big-Toe Pose (Supta Padangusthasana)
This pose stretches the hamstrings, groin, and hips. It also helps to calm the mind and improve digestion.
- Step-by-Step Instructions:
- Lie on your back with your legs extended.
- Bend your right knee and bring it towards your chest.
- Wrap a strap (or use your hands if you can reach) around the ball of your right foot.
- Straighten your right leg towards the ceiling, keeping your back flat on the floor.
- Hold for 30 seconds, breathing deeply.
- Gently lower your leg, release the strap, and repeat on the other side.
- Expert Tip: Keep your shoulders relaxed on the floor.
- Common Mistakes: Avoid rounding your lower back. Keep it pressed against the floor.
2. Happy Baby Pose (Ananda Balasana)
This pose opens the hips and inner thighs, relieves stress, and gently stretches the spine.
- Step-by-Step Instructions:
- Lie on your back.
- Bend your knees and bring them towards your chest.
- Grasp the outsides of your feet (or shins if you can't reach your feet).
- Gently pull your knees towards your armpits, keeping your back flat on the floor.
- Hold for 30-60 seconds, breathing deeply.
- Gently rock from side to side for added massage.
- Expert Tip: Keep your tailbone pressed down for added stability.
- Common Mistakes: Avoid straining your neck. Keep it relaxed on the floor.
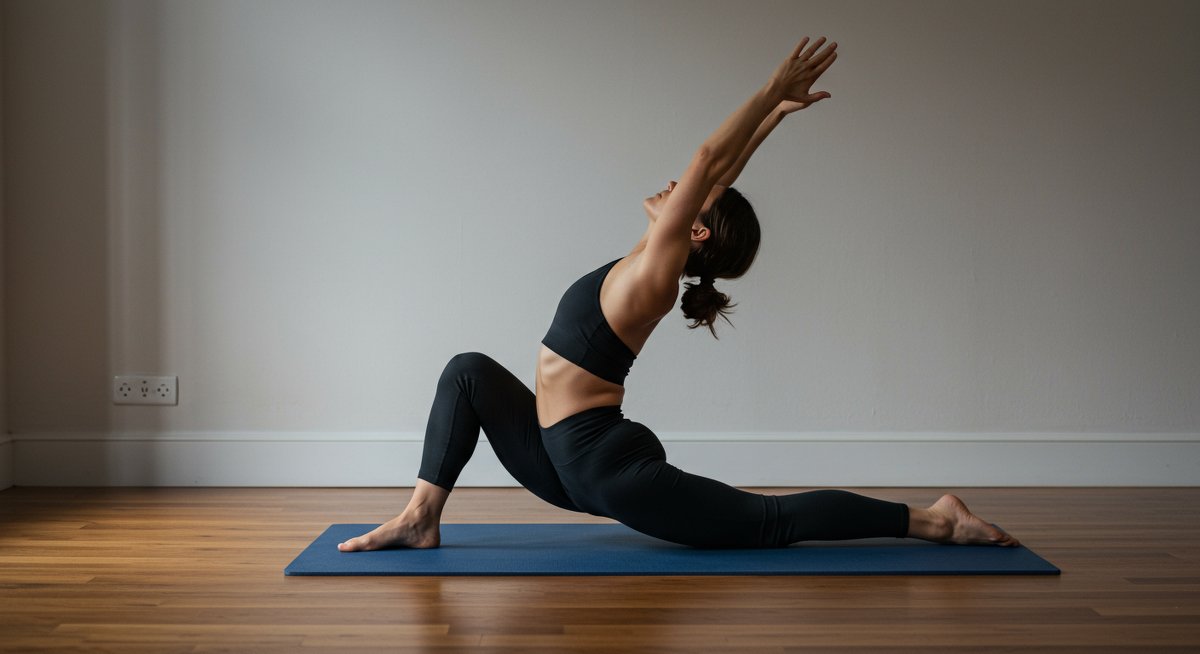
3. Low Lunge (Anjaneyasana)
This pose stretches the hip flexors, quads, and groin. It also strengthens the legs and core.
- Step-by-Step Instructions:
- Start in a tabletop position (on your hands and knees).
- Step your right foot forward between your hands, aligning your knee over your ankle.
- Slide your left knee back and lower it to the floor, keeping your left toes untucked.
- Gently sink your hips towards the floor, feeling a stretch in your left hip flexor.
- Raise your arms overhead, or place your hands on your front thigh for support.
- Hold for 30-60 seconds, breathing deeply.
- Repeat on the other side.
- Expert Tip: Ensure your front knee is not going past your ankle.
- Common Mistakes: Avoid arching your back. Engage your core to keep your spine straight.
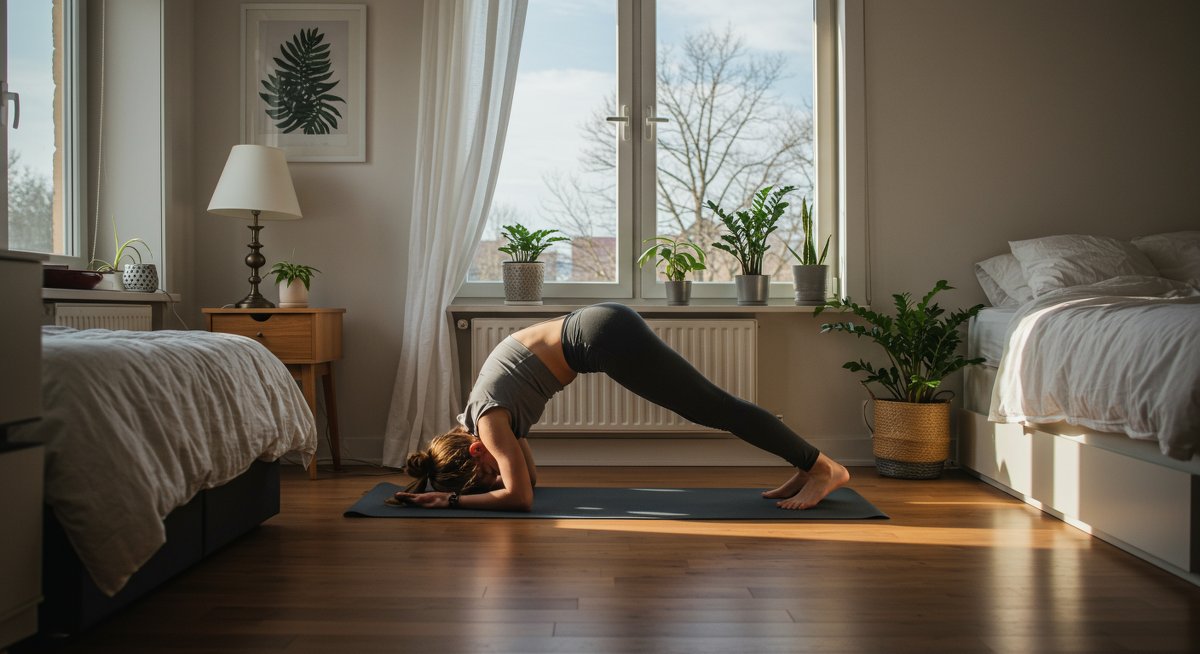
4. Pigeon Pose (Eka Pada Rajakapotasana) - Intermediate Variation
This pose opens the hips and stretches the hip flexors, hamstrings, and psoas muscles.
- Step-by-Step Instructions:
- Start in a downward-facing dog position.
- Bring your right knee forward towards your right wrist, placing your right shin on the floor.
- Extend your left leg back behind you, keeping it straight.
- Square your hips, and gently lower your chest towards your right shin, or rest on your forearms.
- Hold for 1-2 minutes, breathing deeply.
- Repeat on the other side.
- Expert Tip: If your hip is very tight, place a blanket or block under your right hip for support.
- Common Mistakes: Avoid twisting your hips. Keep them squared forward.
5. Seated Forward Bend (Paschimottanasana)
This pose stretches the spine, hamstrings, and hips. It can also help to calm the mind and relieve stress.
- Step-by-Step Instructions:
- Sit on the floor with your legs extended in front of you.
- Reach your arms overhead, keeping your spine straight.
- Exhale and bend forward from your hips, reaching for your feet or shins.
- Keep your back straight as long as possible, then allow it to round if necessary.
- Hold for 30-60 seconds, breathing deeply.
- Expert Tip: Use a strap around your feet if you can't reach them.
- Common Mistakes: Avoid straining your neck. Keep it relaxed.
Modifications and Variations for All Levels
Yoga is for everyone, and these poses can be modified to suit your fitness level. Beginners can start slowly, focusing on proper alignment and breathing. As you get stronger and more flexible, you can try more advanced variations.
Beginner Modifications:
- Reclined Hand-to-Big-Toe Pose: Instead of straightening your leg completely, keep a slight bend in your knee.
- Happy Baby Pose: If you can't reach your feet, hold onto the backs of your thighs.
- Low Lunge: Place your hands on your front thigh for support.
- Pigeon Pose: If your hip is very tight, place a blanket or block under your right hip for support.
- Seated Forward Bend: If you can't reach your feet, use a strap around your feet.
Intermediate/Advanced Variations:
- Reclined Hand-to-Big-Toe Pose: Use a strap to pull your leg closer to your body.
- Happy Baby Pose: Rock gently from side to side for a deeper stretch.
- Low Lunge: Add a twist by turning your torso toward your front knee.
- Pigeon Pose: Fold deeper towards the floor, resting your forehead on the floor or your hands.
- Seated Forward Bend: Keep your back straight and reach for your toes.
By making small adjustments, you can tailor each pose to your individual needs and capabilities. Remember to listen to your body and never push yourself beyond your limits.
Tips for Creating Your Home Yoga Space
Creating a dedicated yoga space at home can significantly enhance your practice. Here are some tips to help you set up a space that promotes relaxation and focus.
- Choose a Quiet Area: Select a space free from distractions, where you can be undisturbed. This could be a spare room, a corner of your living room, or even outdoors if the weather permits.
- Invest in a Yoga Mat: A good-quality Manduka Yoga Mat provides cushioning and support for your poses. The right mat can make a huge difference in your comfort and ability to hold poses.
- Gather Your Props: Have yoga blocks, a strap, and a blanket on hand to modify poses and deepen your stretches.
- Set the Ambiance: Add elements that promote relaxation, such as soft lighting, candles, or essential oils. Play calming music or nature sounds to create a soothing atmosphere.
- Stay Organized: Keep your space tidy and clutter-free. This will help you stay focused during your practice.
Integrating Yoga into Your Daily Routine
Consistency is key to improving your hip mobility and overall fitness. Here's how you can integrate these yoga poses into your daily routine.
- Morning Routine: Start your day with a short 10-15 minute hip mobility session. This will energize your body and prepare you for the day.
- Before or After Work: Incorporate the poses into your before-work or after-work schedule. This helps to counteract the effects of sitting for long periods.
- Lunch Break: Take a quick break during your lunch to perform a few poses. This can help you refresh and stay productive.
- Evening Relaxation: Wind down your day with a calming yoga session to relax your body and mind.
Next Steps in Your Home Yoga Journey
- Explore Guided Yoga Classes: To enhance your practice and get the most out of these poses, explore guided yoga classes. There are many options available online. A subscription to the Nike Training Club App provides numerous guided yoga sessions, timer functionality, and personalized programs. The Nike Training Club App also helps track your progress.
- Join a Yoga Community: Connect with other yoga enthusiasts online or in your local community. This can provide you with support, motivation, and inspiration.
- Continue Learning: Read books, watch videos, or attend workshops to deepen your knowledge of yoga and discover new poses and techniques.
- Listen to Your Body: Pay attention to how your body feels and adjust your practice accordingly. If you feel pain, stop and rest.
By following these tips, you can create a sustainable and enjoyable yoga practice that will transform your hip mobility and overall well-being. Embrace the journey, and enjoy the process of finding your flow at home.